This is such a warm hat!
Baby's Baker Hat
Worsted wt Yarn (#4. I used Red Heart Super Saver in blue variegated for the Boy's Hat and Impeccable for the girls hat--cuz those are the colors I had. (Thank you to everyone who donates yarn to me so I can make hats for the homeless, hospitals and prayer shawls/lapghans!!!)
Size I Hook.
Size: Newborn. For a smaller size Preemie you could use a G hook; For a toddler, you could use a K Hook. Just guessing here as I have only made the newborn size.
Sts Used: sc, hdc , dc,
Lazy Shell (sc in indicated chain, ch 3, 2 dc in same ch 3),
Modified Lazy Shell (sc in indicated chain, ch 3, 1 dc in same ch3),
Hdc ribbing (ch indicated number of stitches, hdc across row, ch 2, turn, hdc in BACK LOOP of each hdc of previous row. Repeat until desired length),
Crab Stitch (sc backward to end of row and join in 1st sc).

Shrinking Rib (this is made after body of hat is finished. It draws the top of the hat together and makes a neat pattern): ch 6, turn, sl st in first 2 sts, sc in next 2 sts, hdc in last st. Turn. Working in Back Loops only for the rest of the SR: sl st in next 3 sts on row below on body, turn work, hdc in 1st st (remember back loops only), sc in next 2 sts, sl st in last 2 sts. *turn work, sl st in first 2 sts, sc in next 2 sts, hdc in next st. sl st in next 3 sts on body of hat (this is to decrease so you can work 2 or 3 as you see the work sitting flat), turn work, hdc in hdc, sc in each of next 2 sc (again in back loops only), sl st in next 2 sl st. * until you have reached the beginning of the work. sl st last row and first row together, Fasten off, weave in ends. If you ended up in the center of the work, leave a long tail of yarn and sew the opening closed. If you end up at the other end away from the circle, just cut yarn, take a long piece of yarn and a yarn needle and sew center closed.
Instructions:
Ribbing--
Row 1:
Ch 10. Hdc in 2nd ch from hook, hdc across chain. 8 hdc
Row 2:
TURN, Ch 2. IN BACK LOOPS ONLY, hdc in each hdc across. 8 hdc.
Row 3-24:
Repeat Row 2.
This piece when laid flat and not stretched measured 12".
Next: Fold ends to meet (making a circle) and slip stitch the end rows together, turn piece so that seam is inside the hat and continue working on this piece.
This is the part that decides if it is a boy's or girl's hat--
For Girls: (working a sc in the ridge part of the ribbing and 5 dc in the middle of each ridge section around.) To clarify: ch 1, sc in same st as last sl st. sk end of this hdc row and place 5 dc (shell) in end of next row. *sc in end of ridge, 5 dc in end of next row* around. Join in first sc. (12 sc, 12 5-dc shells) Fasten off and weave in ends.
PHOTO
For Boys: You can either leave it plain and start working on the body of the hat from this very same position OR you can do a Crab Stitch (Backward Single Crochet) around the edges. If you do the Crab Stitch, join at end of row, fasten off, weave in ends.
Body of Hat--
Attach yarn at opposite end of seam, ch 1, sc in same st as joining.
Row 1:
ch 3, place 2 dc in the sc you just made, sk 1 st. *sc in next st, ch 3, place 2 dc in the side of the sc you just made* (lazy shell made). Work in this way around the side rows of the ribbing opposite the girl/boy edging of course. Join in 1st sc. (20 lazy shells)
Row 2:
TURN WORK, ch 1, sc in base of joining, ch 3, 2 dc in side of sc just made.
Sc into ch 3 of previous row/next lazy shell. ch 3, 2 dc under same ch 3 space. (finished lazy shell). *sc under ch 3 of next lazy shell on last row, ch 3, 2 dc under same ch 3 space* around. Join with sl st in first sc. (21 lazy shells)
Row 3:
ch 1, TURN, sl st in 1st 2 dc and into ch 3 of previous lazy shell. Ch 1, in ch 3 place a Lazy Shell (ch 1, sc, ch3, 2 dc all in next ch 3). Repeat around. (Piece will start looking incredibly large. Not to worry) Join with sl st in 1st sc. (21 lazy shells)
Row 4:
TURN, sl st in 1st 2 dc and into ch3 of previous lazy shell. Ch 1, sc in same space, ONE (1) dc in ch 3. *sc in next ch 3, ch 3, 1 dc in same ch 3 (Modified Lazy Shell). Proceed to put a Modified Lazy Shell in each Lazy Shell around. Join to beginning sc.
(21 Modified Lazy Shells).
Row 5:
Ch 2, Place 2 hdc in each ch 3 around. (42 hdc) (Note: I worked this row quite tight.)
INNER RIBBING:
Row 1:
`ch 7, turn, working back on ch you just made, sk first loop, sl st in next 2 ch, sc in next 2 ch, hdc in last ch. Now comes the "interesting part--) sk joining, sl st in next 2 hdc on last row worked.
Row 2:
turn work so little "tail thingy" is on your left. IN BACK LOOP ONLY, make a hdc in 1st hdc on tail, sc in each of next 2 sc (again back loops only...you will be making a shrinking rib), sl st in next 2 sl sts. (hard work but u can do it--I just pick up whatever I can get in the back loop and go on. doesn't show)
Row 3:
ch 1, sl st in bk lp only of 1st 2 sl sts, sc in bk lp of next 2 sc, hdc in hdc.
sl st in next 3 sts on body of hat....
Continue in this manner until you are at the beginning. If you have a problem, consult the directions above for Shrinking Rib. You can always email me for clarity. Emmalemmon47@yahoo.com
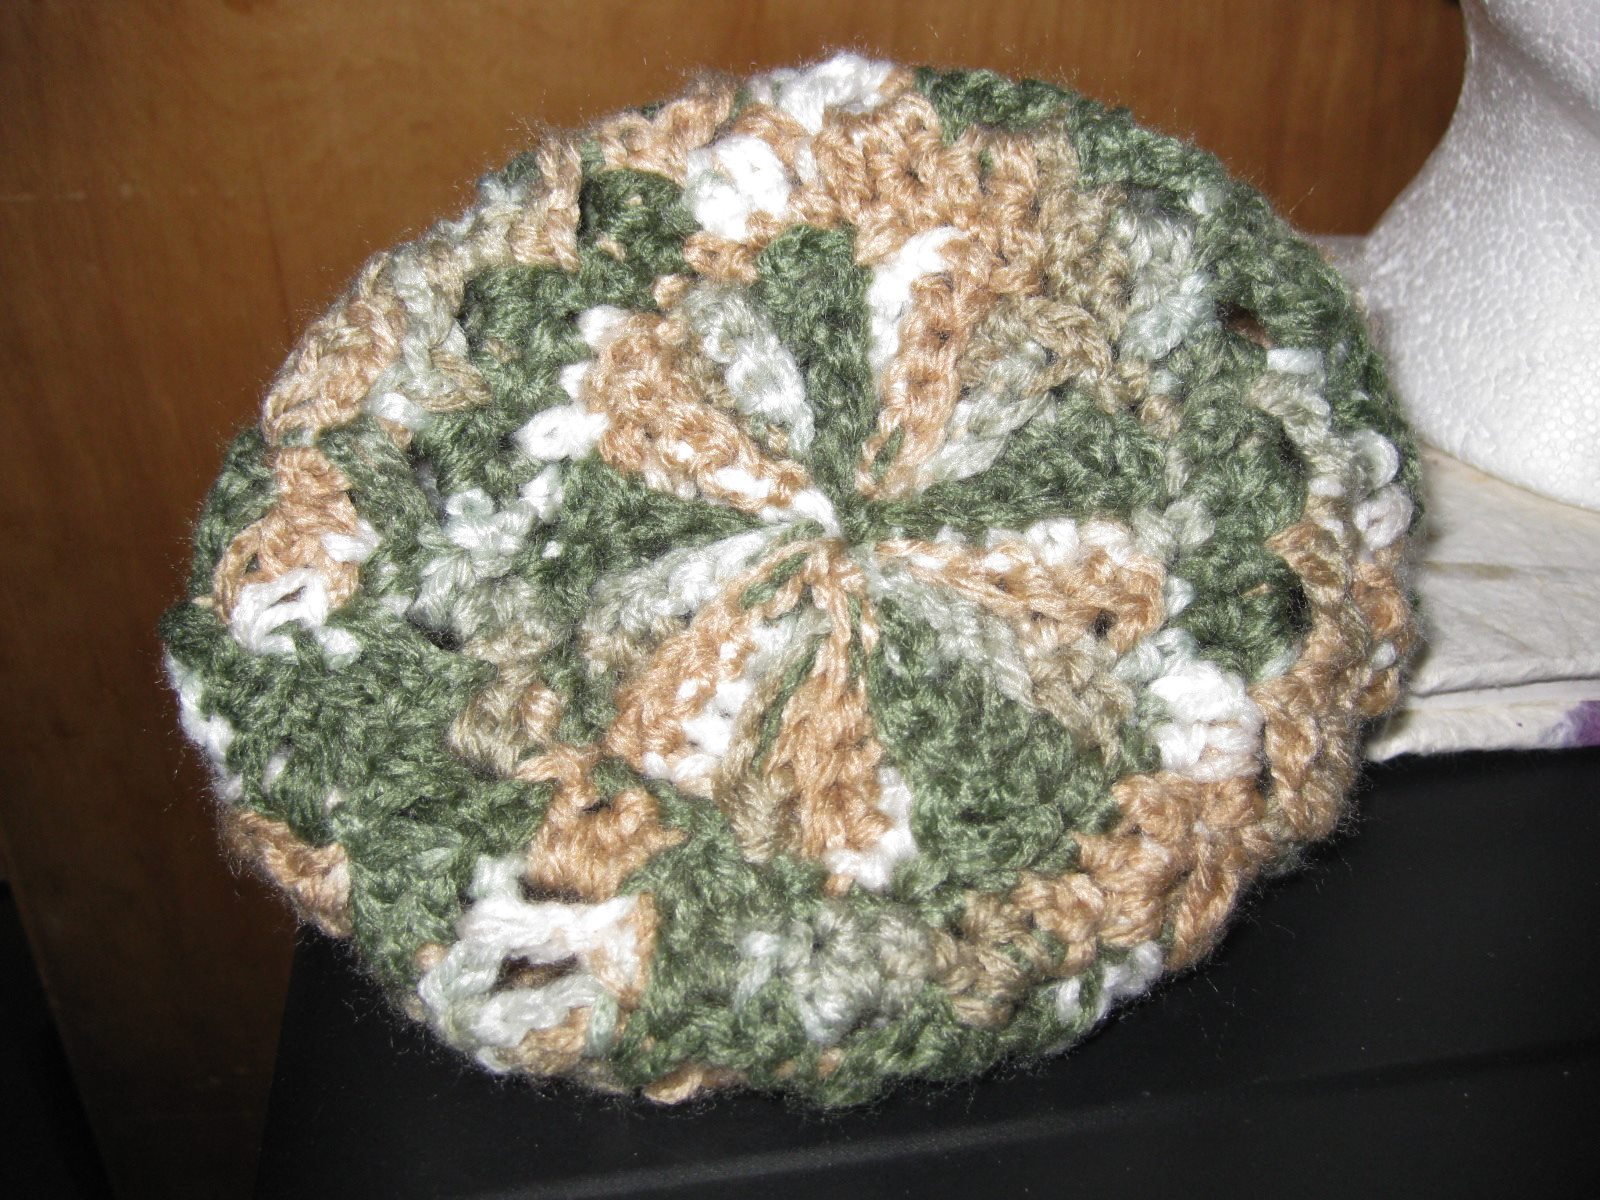
View of top of hat w/shrink rib.


.jpg)

